

In this blog, I will be providing the steps to integrate the second domain with vIDM. First domain integration is a standard process where you go to Identity & Access Management and click on Add Directory and select ADD Active Directory over LDAP/IWA. Provide the Directory Name and select Active Directory over LDAP. In the Base DN field, enter DN from which to start account searches. For example, OU=myUnit,DC=myCorp,DC=com. In the Bind DN field, enter the account that can search for users. For example, CN=user1,CN=Users,OU=myUnit,DC=myCorp,DC=com. Enter the Bind User Password and the test connection is successful and Save.
To add the second domain, we must install the vIDM connector on a Windows VM. Please note the vIDM version I am using is 3.3.5. Download the connector installer from the VMware site and execute it. Make sure the connector VM is a member of the second domain.
Below Steps Includes
- Installing the vIDM Connector
- Integrating it with vIDM
- Adding the second domain
- Authenticating to the vRealize Products using the vIDM
- Execute the vIDM Connector installer and go next, Accept the License Agreement.
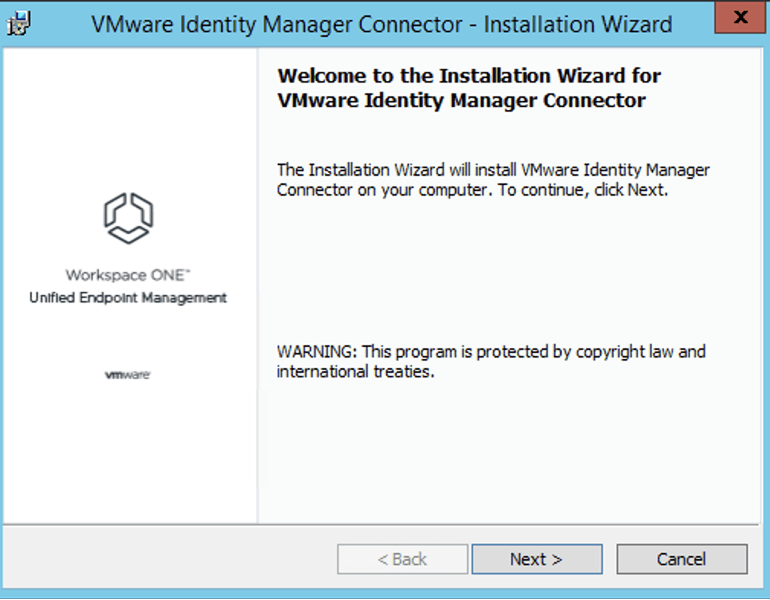
2. Provide the connector VM FQDN.
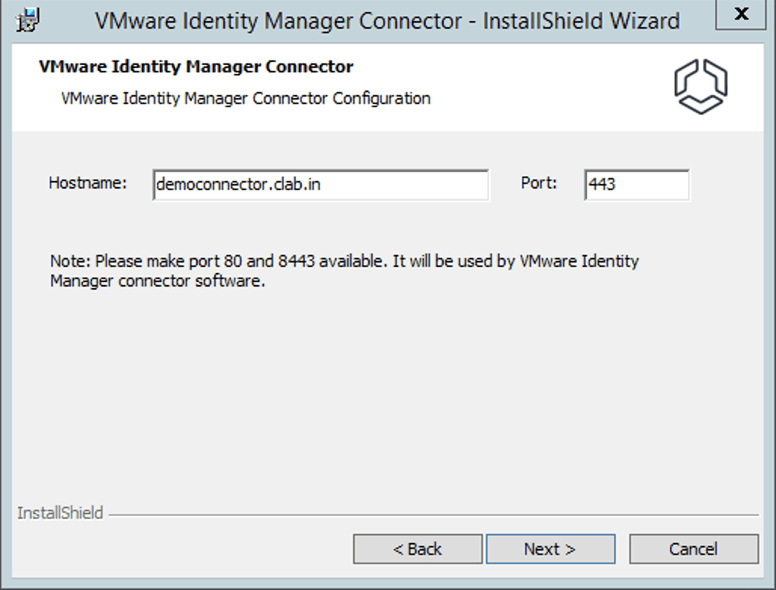
3. Select the box to run the service as a domain account. Enter the credentials as shown below and go next.
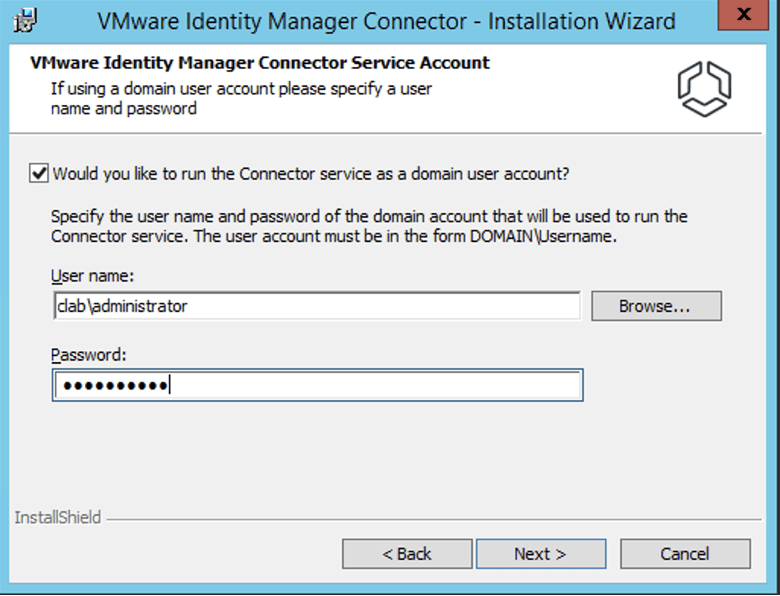
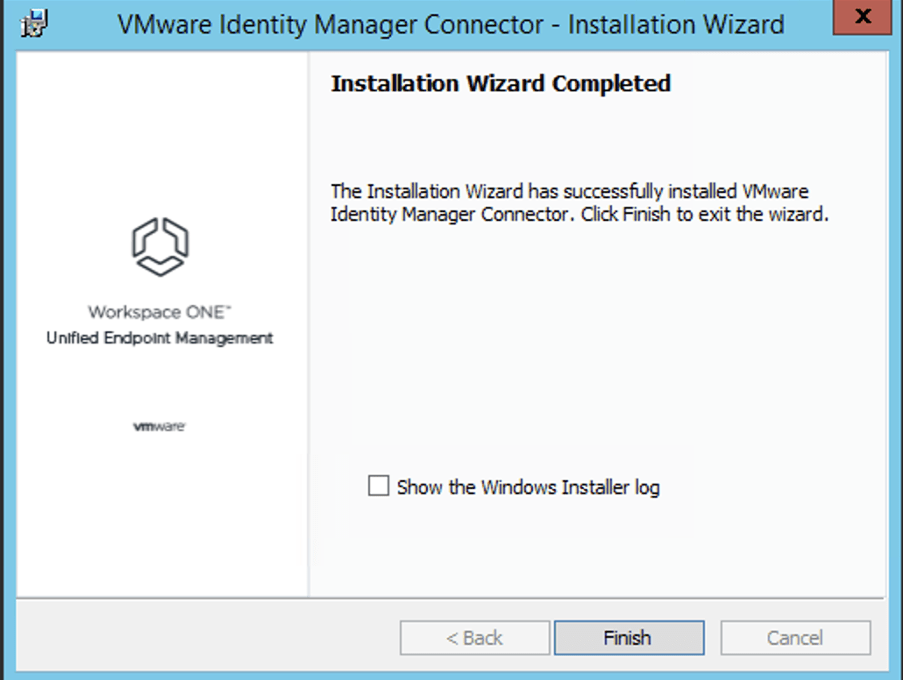
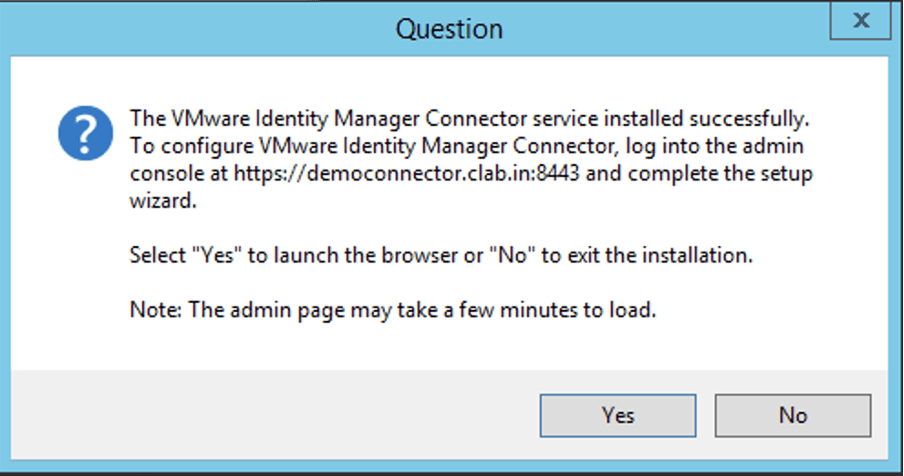
4. Click Finish and Yes to launch the admin console of the connector to Integrate the connector with vIDM. You can also access the console on https://connectorfqdn:8443 from remote servers.
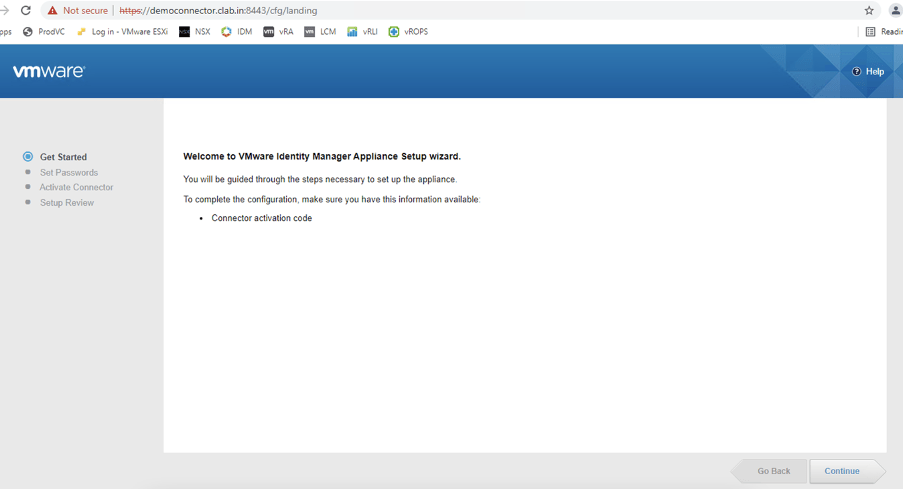
5. You will be redirected to the VMware Identity Manager Appliance Setup wizard. Click Continue
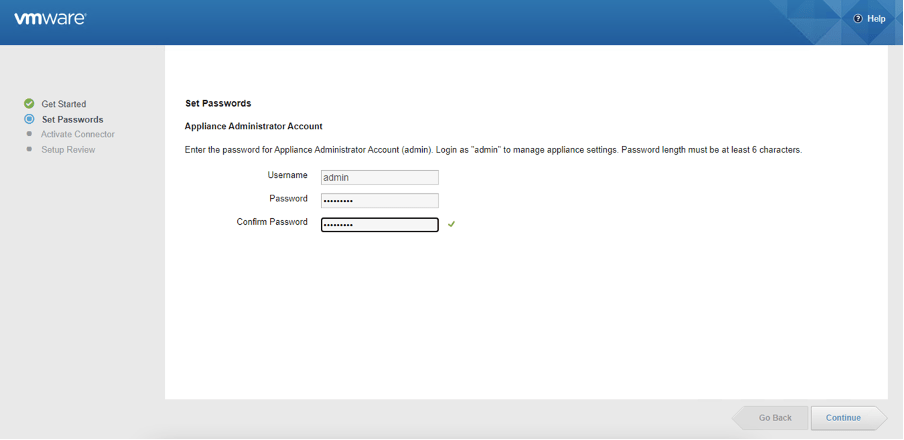
6. Set the password for the Administrator account. Click Continue
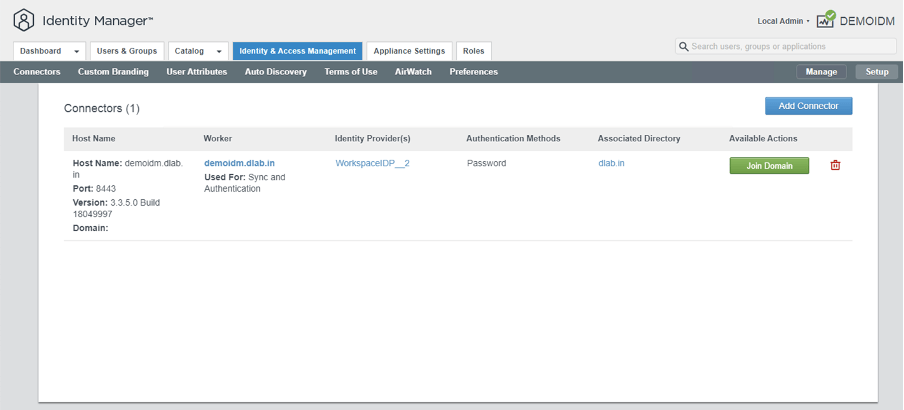
7. At this stage, Login to the VMware Identity Manager and go to Identity & Access Management. On the top right, click on Setup and select Connectors. Click on Add Connector
8. Enter the Connector Name and Click on Generate Activation Code. Copy this code
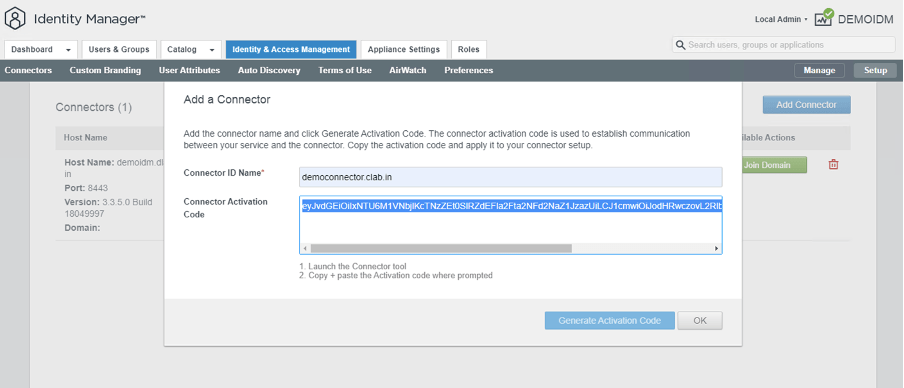
9. Enter this code in the connector configuration wizard and click continue
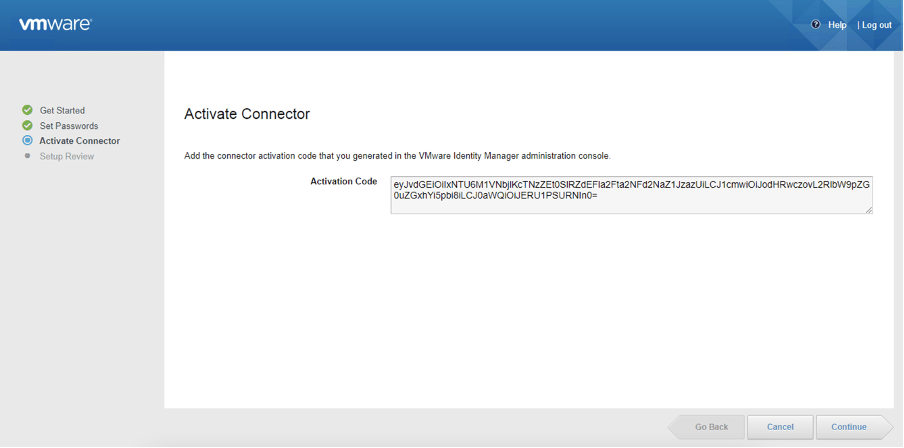
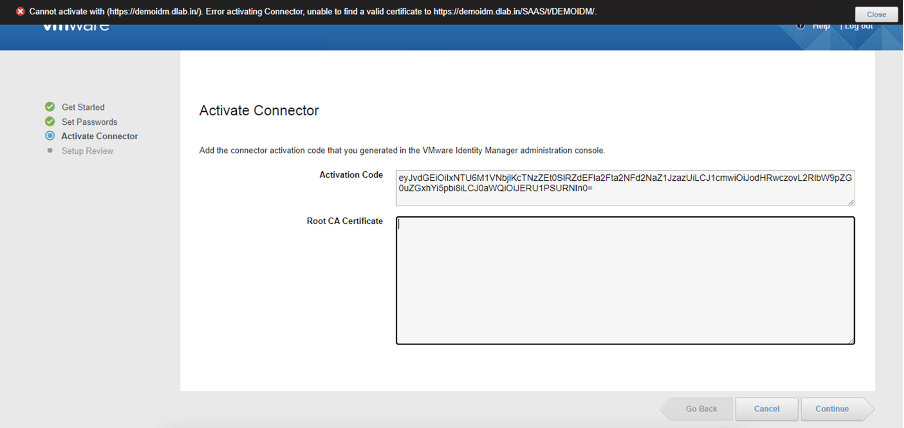
10. Root CA Certificate is required to complete activation of the connector.
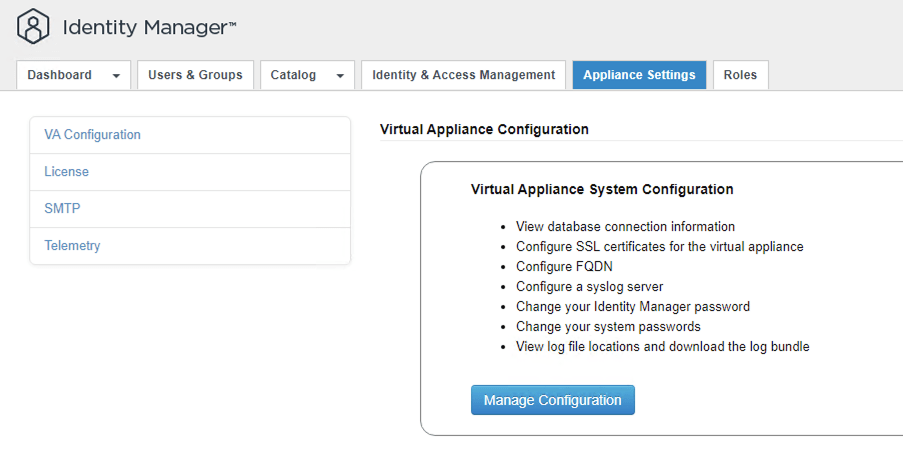
11. Login to the VMware Identity Manager and Click on Appliance Settings, Manage Configuration and enter the credentials to log in.
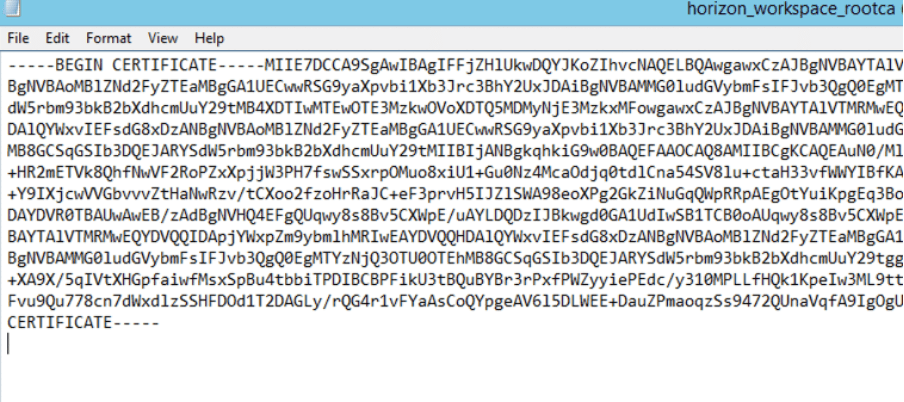
12. Click on Install SSL Certificate and scroll down to Appliance Self Signed Root CA Certificates. Download the root ca certificate and open it in a notepad.
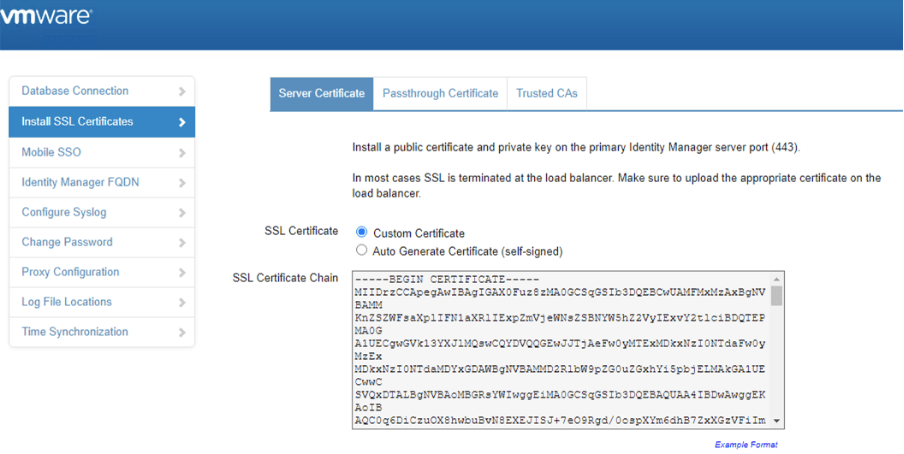
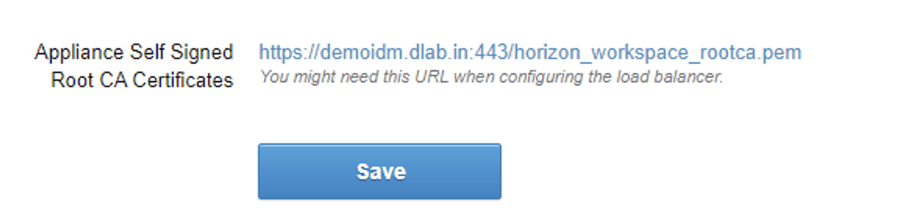
13. Copy the certificate and paste it on the Connector configuration wizard.
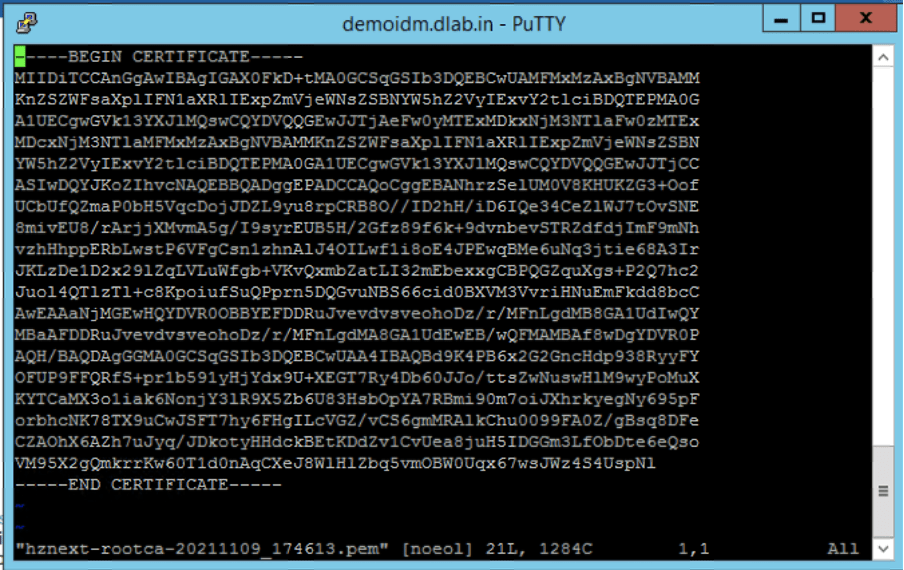
14. Alternatively, you can also SSH to the vIDM appliance and open the xxxx-rootca-xxxxx.pem at /etc/ssl/certs.
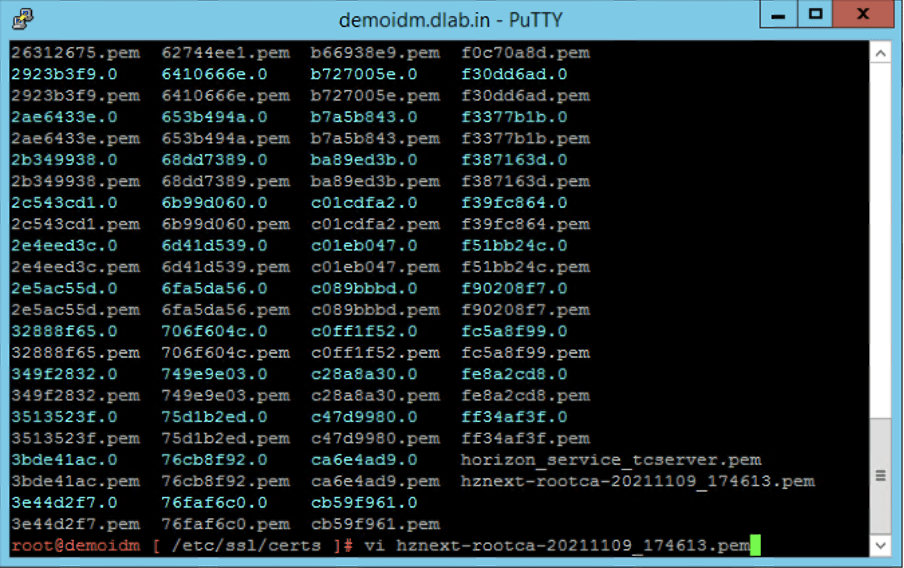
15. And copy the certificate
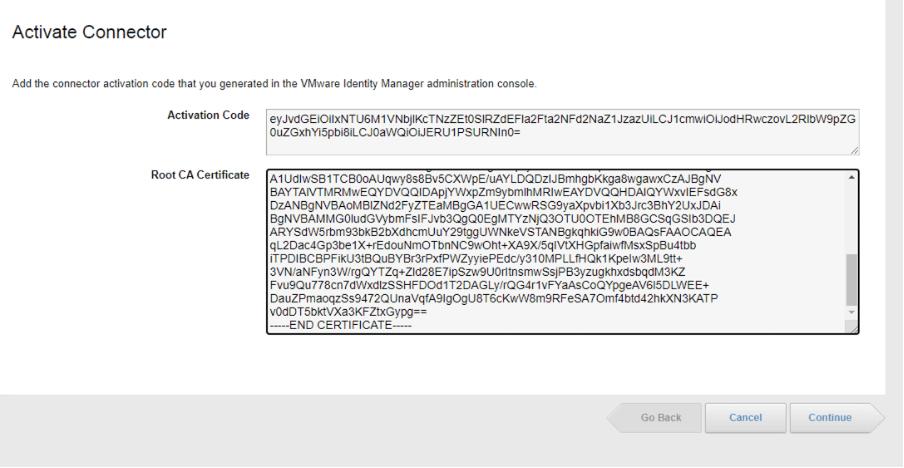
16. Paste it in the connector configuration wizard and click continue.
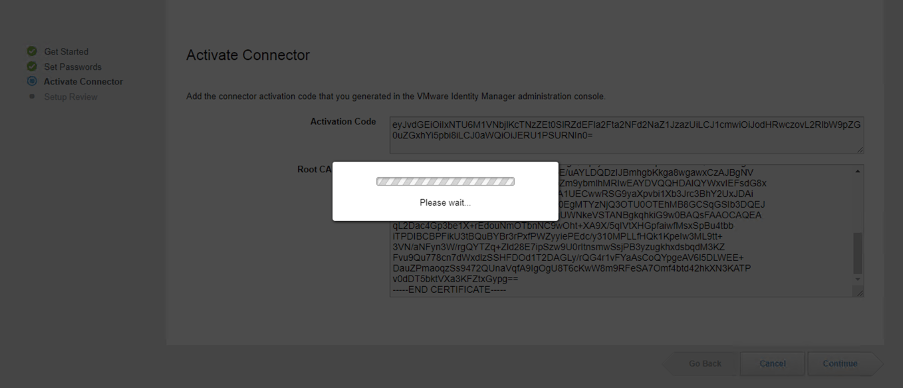
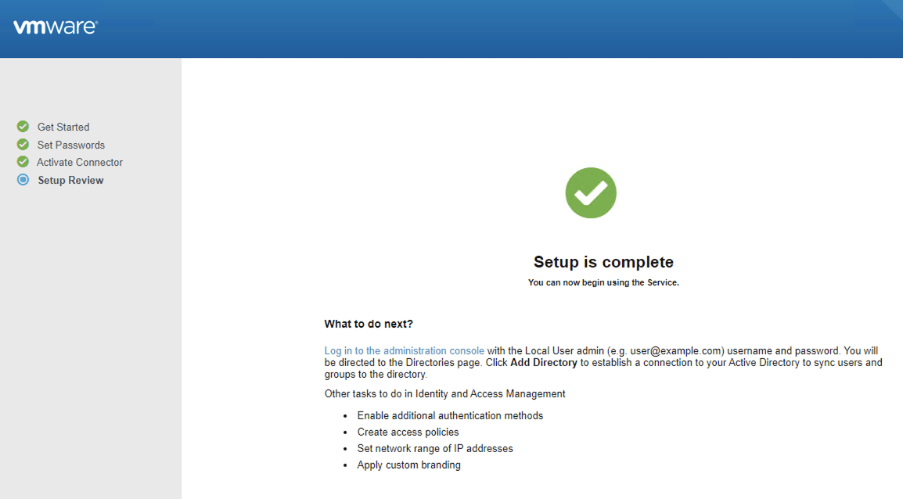
17. You can see the connector activation is completed.
18. You can login to the vIDM and see the second connector is installed.
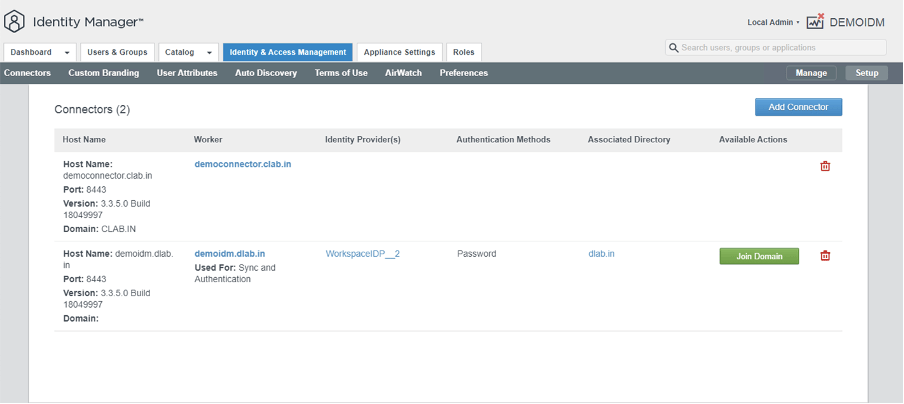
19. At this stage, you can add the second active directory. Go to Identity & Access Manager and click on Add Directory.
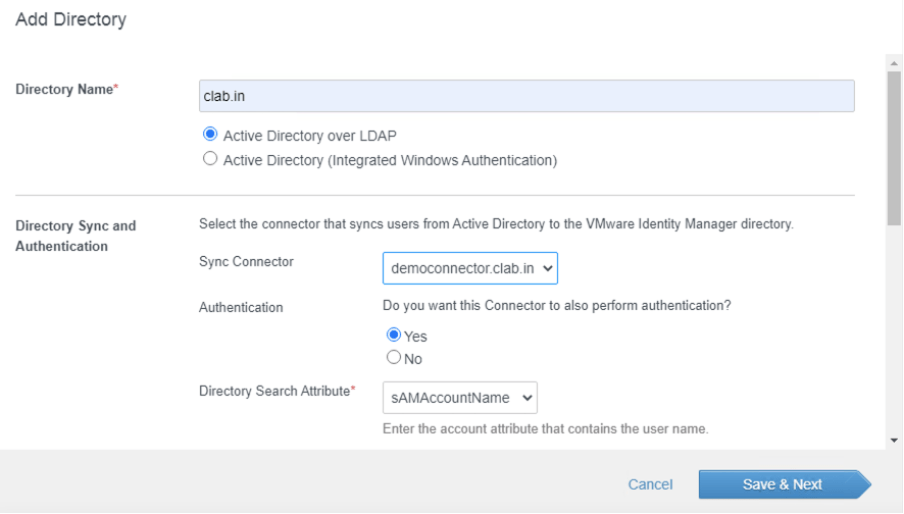
20. Enter the Directory Name and select the newly installed sync connector.
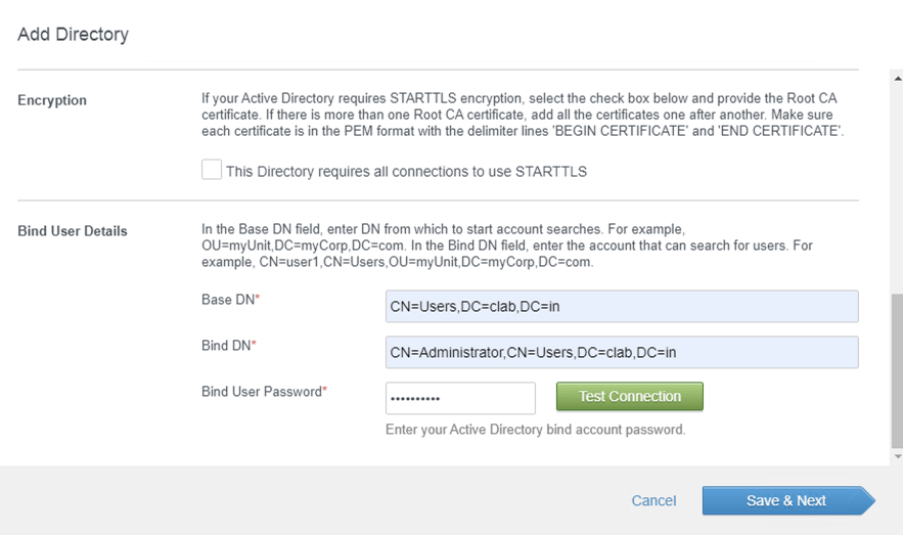
21. Enter the Base DN and Bind DN. Provide the password and the test connection is successful. You can save and continue the next steps to select the domain and sync the Groups and Users.
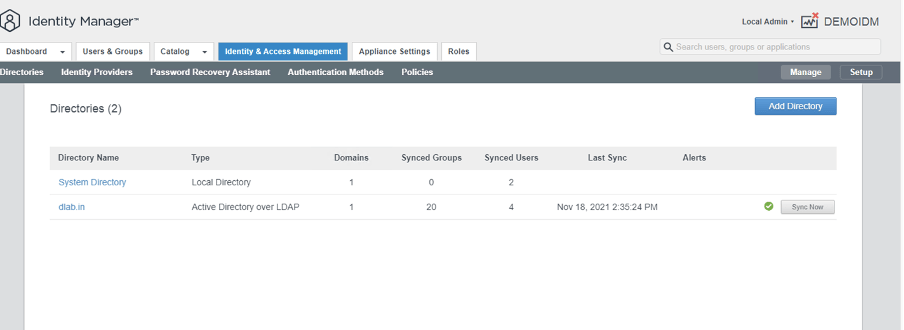
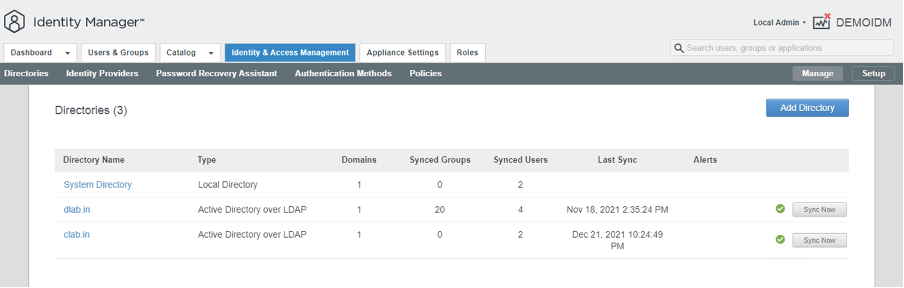
22. Once the second domain is added, you will see both the domains under the Directories.
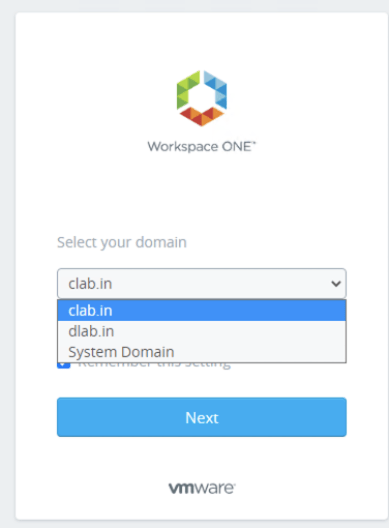
23. Login to vIDM/vRA and both the domains listed in the drop-down. Chose the desired domain for the login.
 Welcome to Virtume
Detailed well, great info. Thanks a lot for sharing.
LikeLike